
Shop
Shop our range of high-quality, modern cornices & lighting and elevate your space today!
Shop
Shop
Filters


Hear It from Our Customers
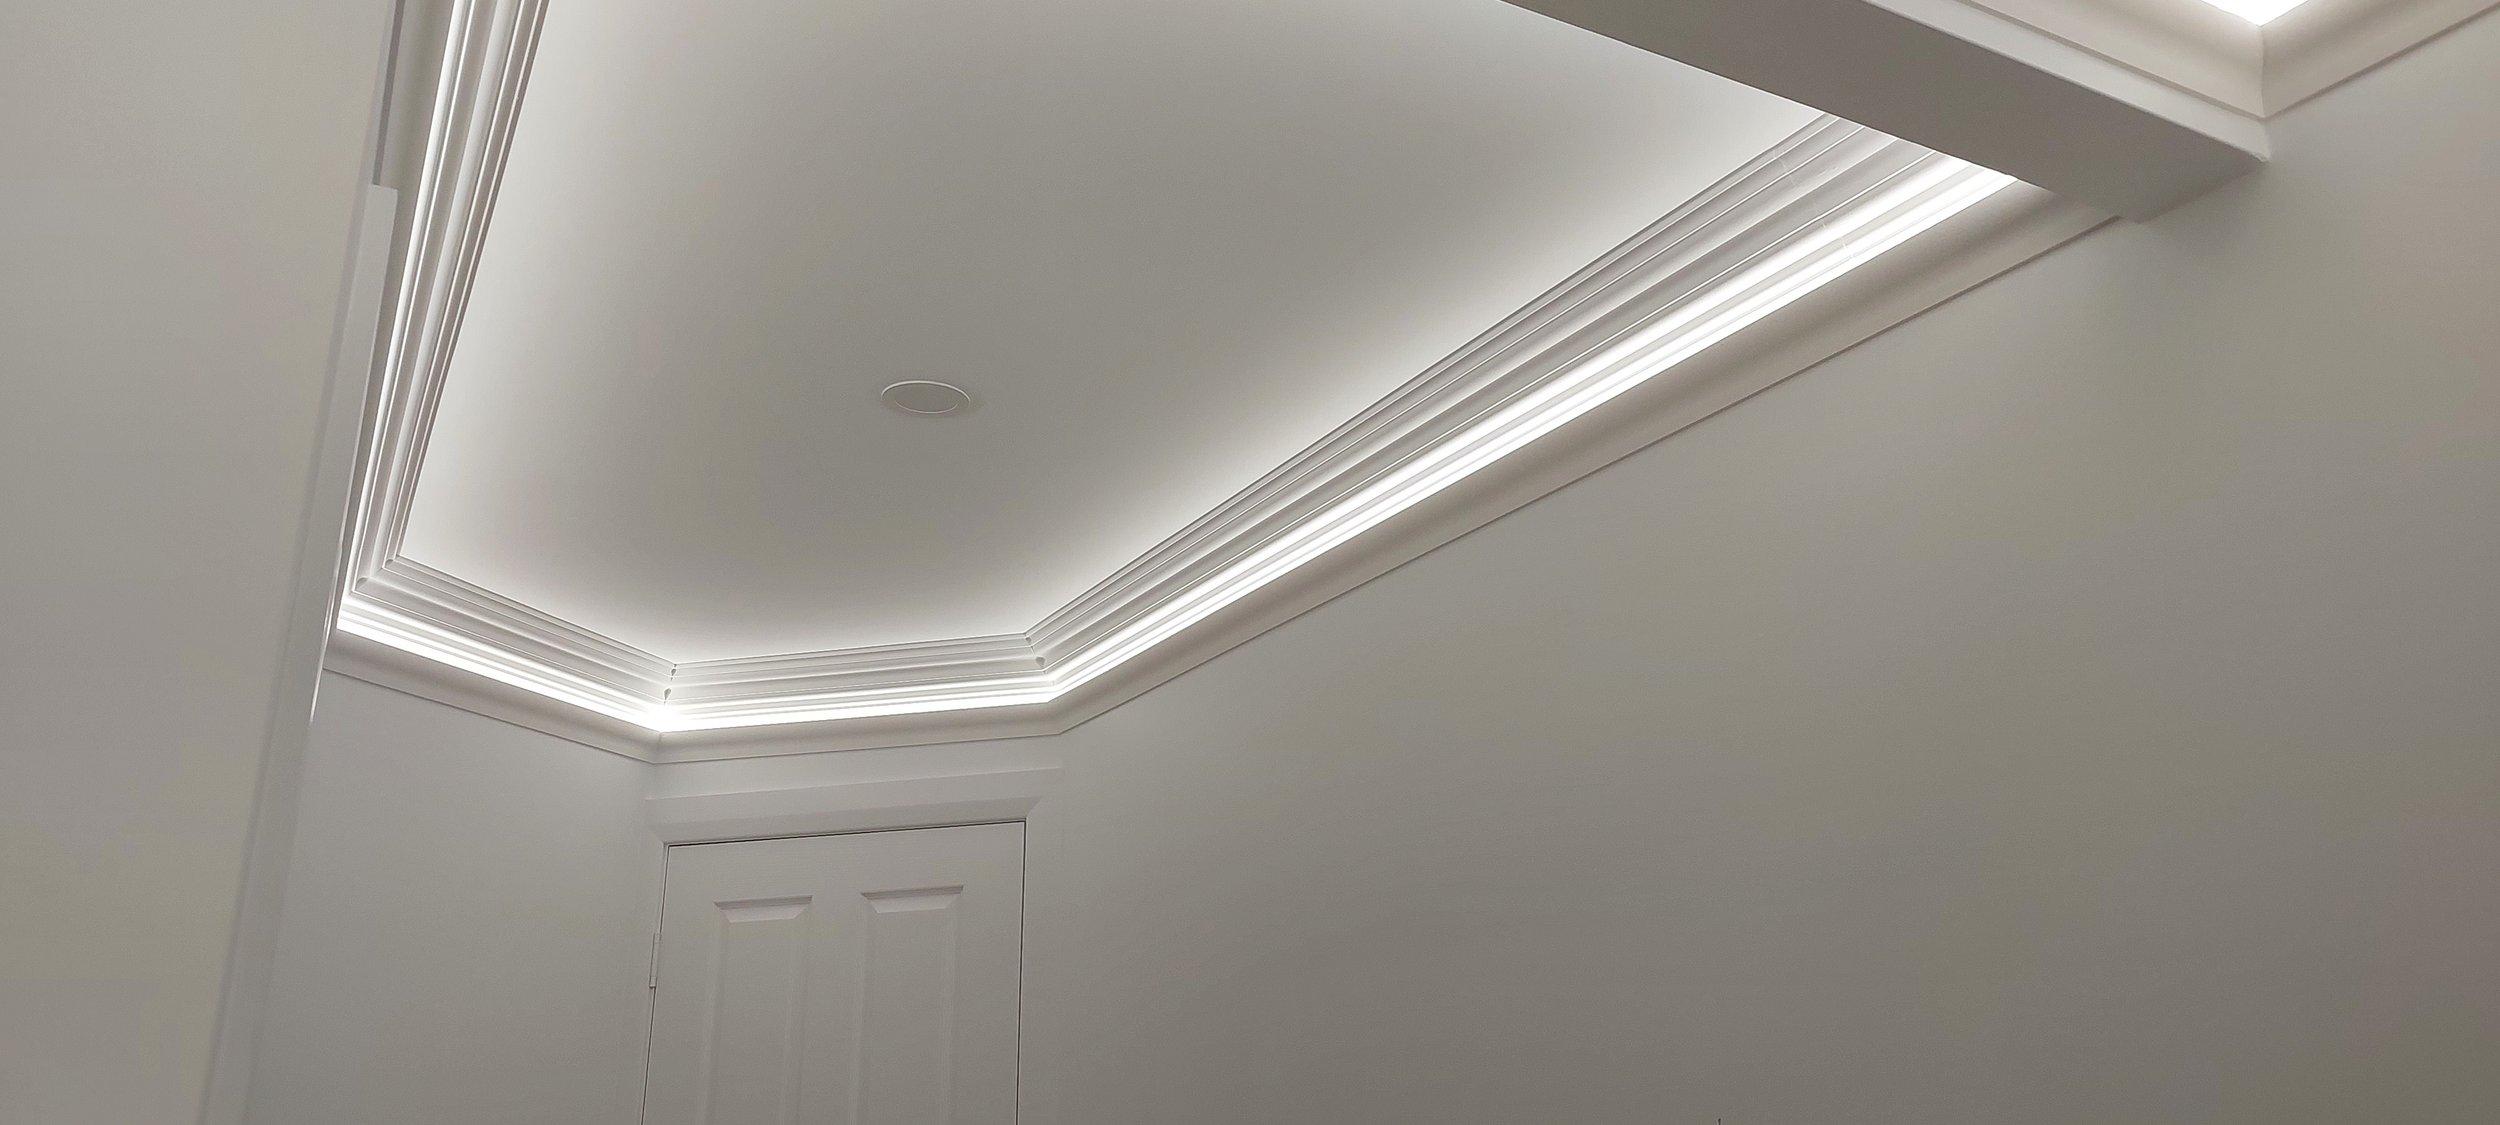
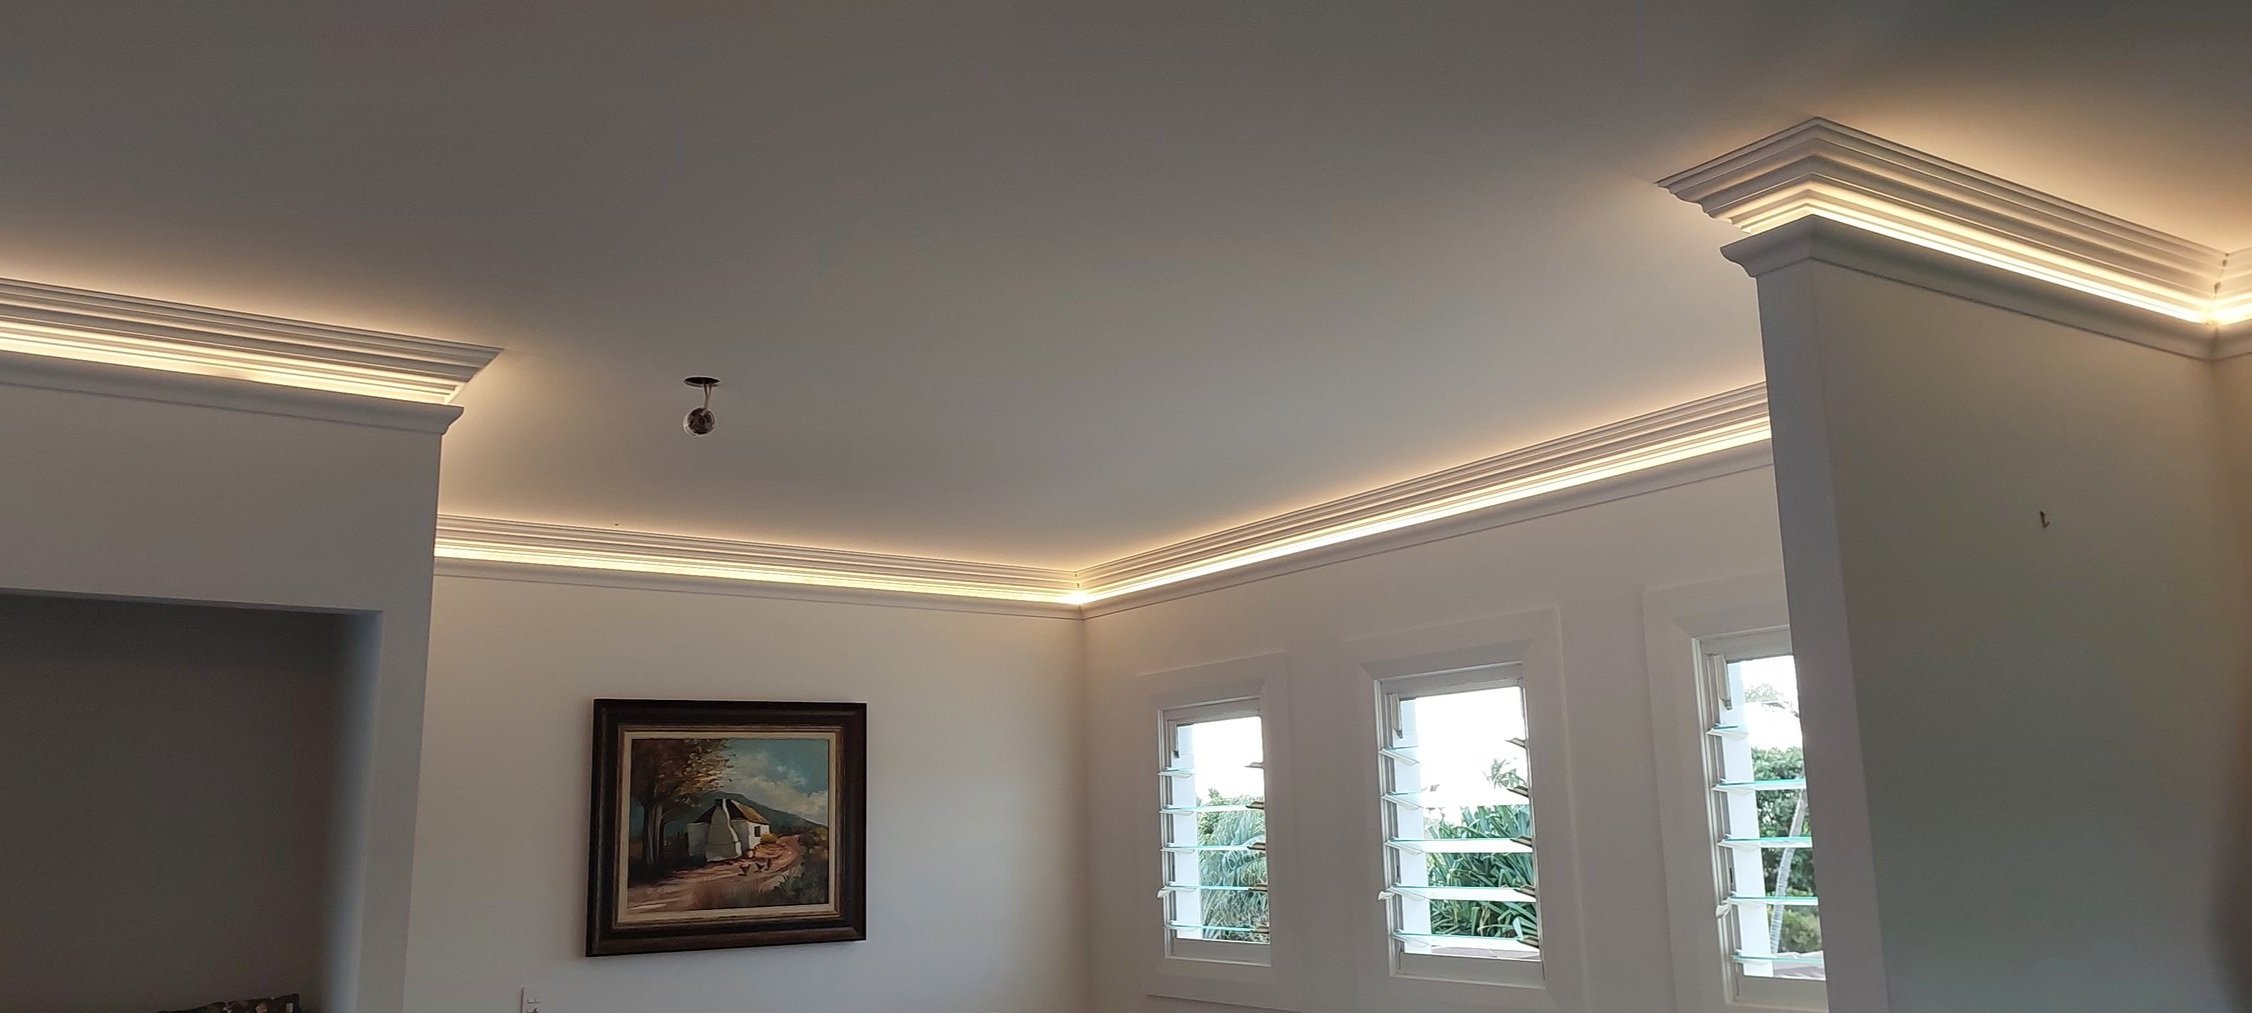
Discover the Magic of
ShadowLight Cornices
Installation Made Easy
STEP-BY-STEP GUIDE
At ShadowLight, we believe that transforming your space should be a breeze, which is why we have developed a range of high-quality cornices designed with simplicity and easy installation in mind.
Whether you're a seasoned DIY enthusiast or a first-time home improver, we have a step-by-step guide that provides clear and easy-to-follow instructions when installing your cornice. Simply follow along, and you'll be on your way to achieving professional-looking results in no time!


FREQUENTLY ASKED QUESTIONS
LOOKING TO BUY YOUR SHADOWLIGHT CORNICE?
Have any queries or need assistance? Check out our frequently asked questions below. Can't find what you're looking for? Feel free to reach out to our friendly team, and we'll be happy to assist!
-
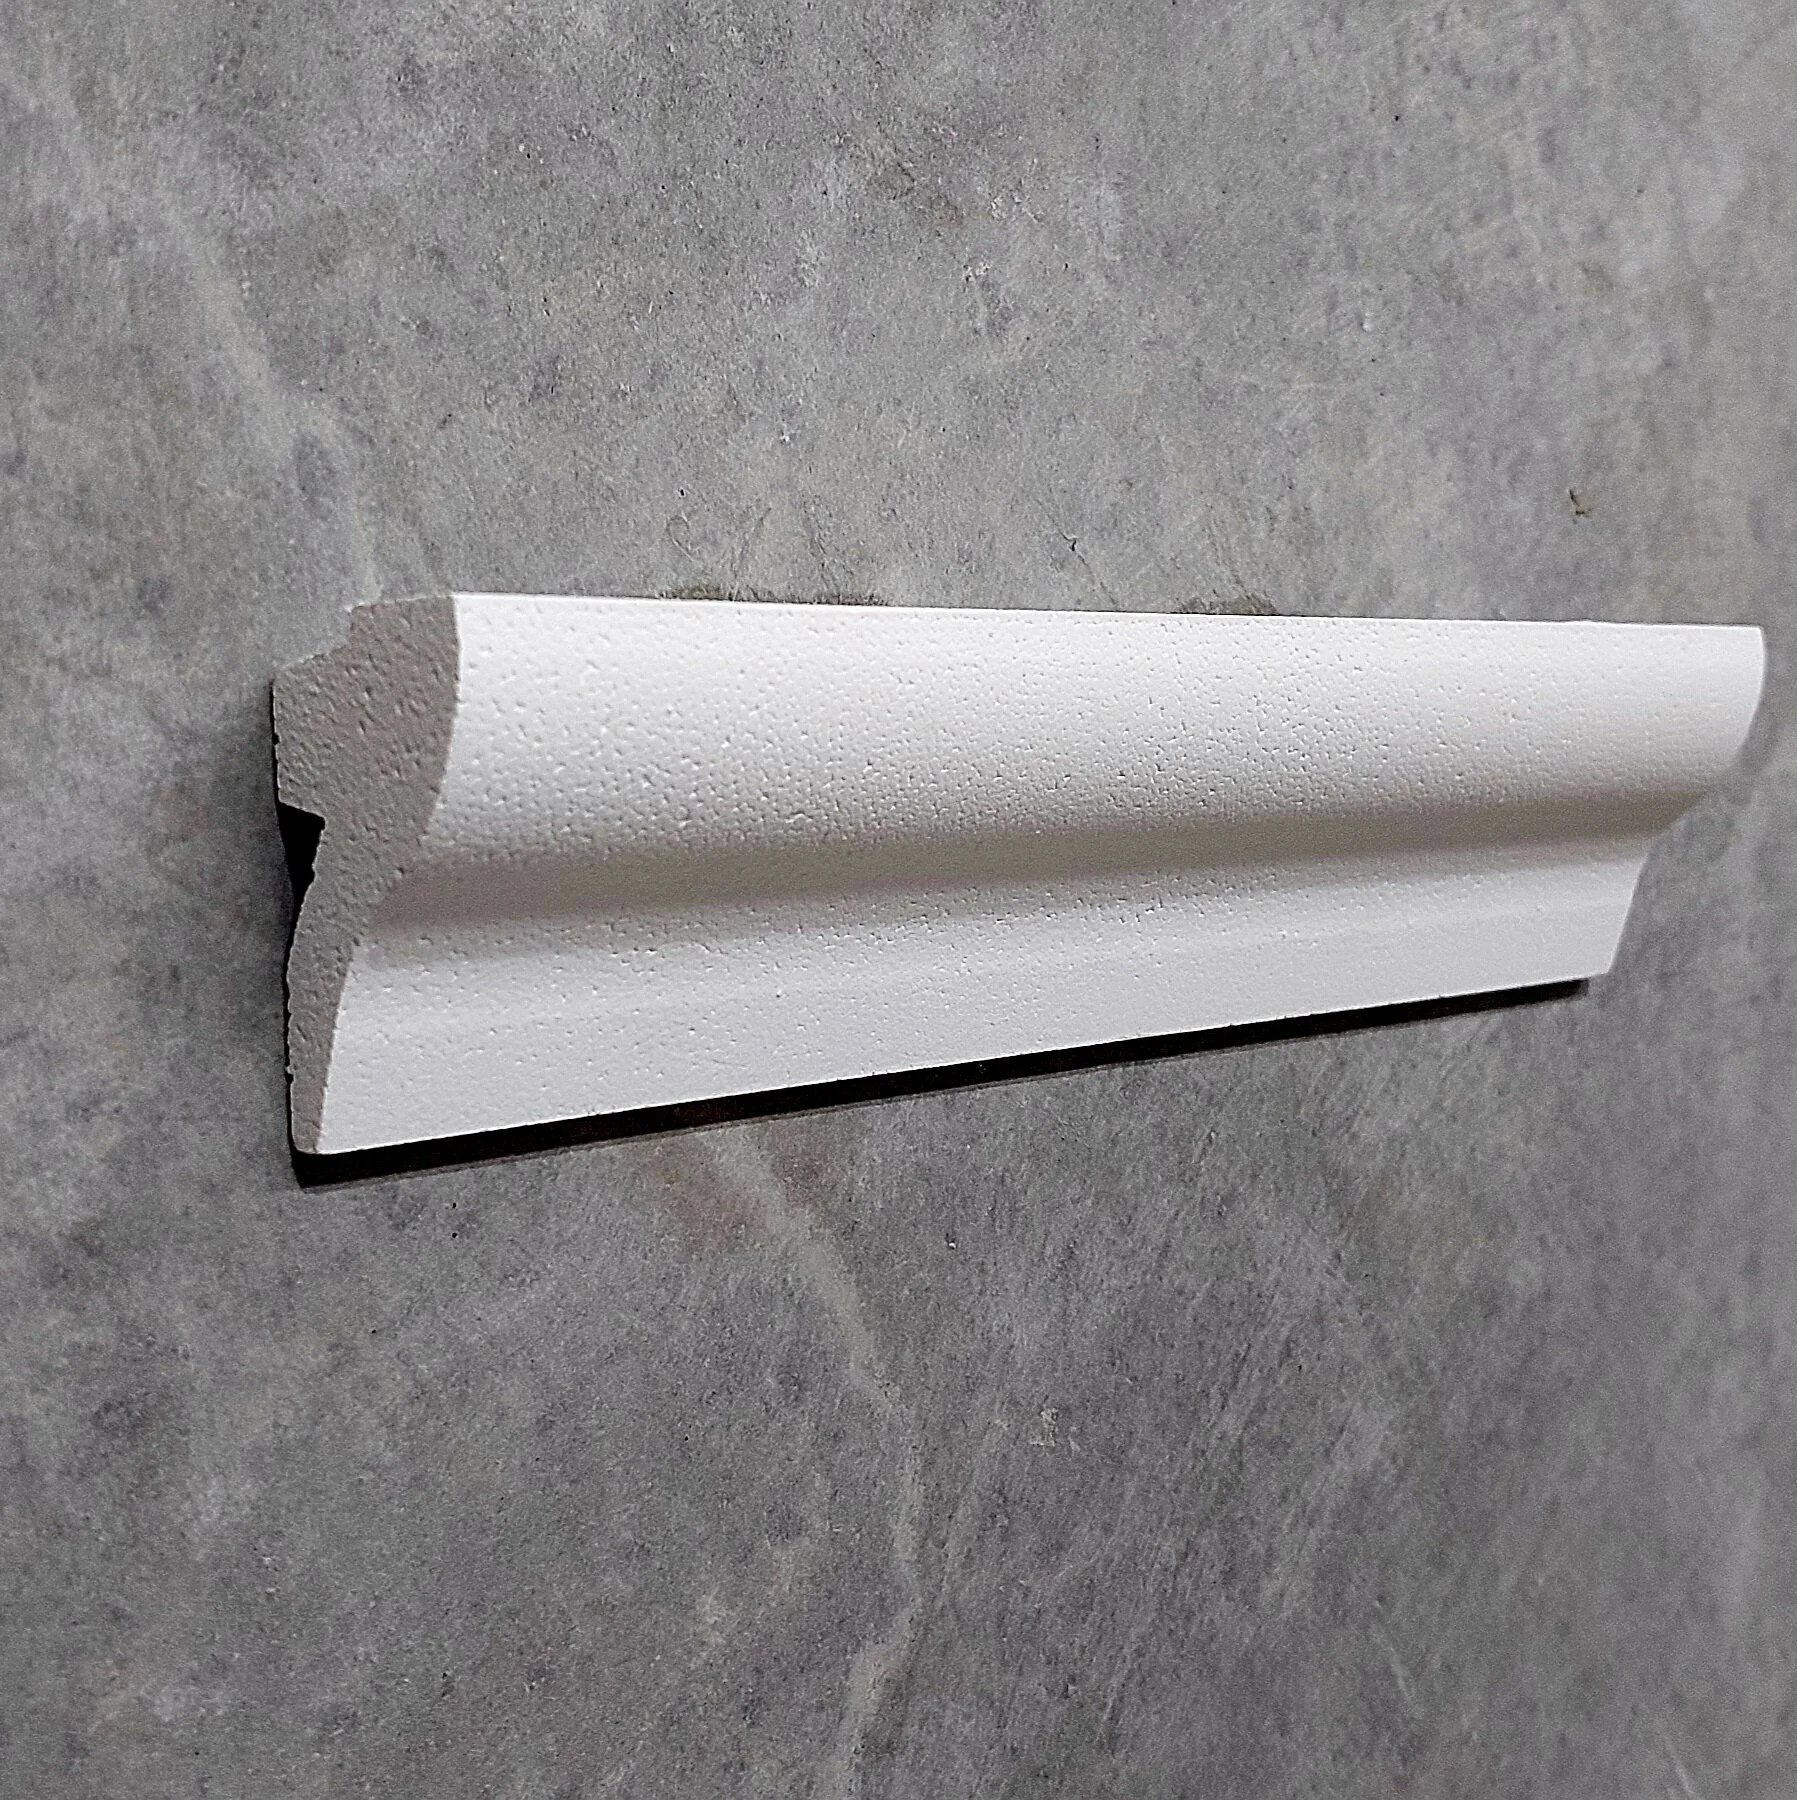
Polystyrene cornices, particularly those made from high-density moulded EPS, have gained significant popularity because of their user-friendly nature and aesthetic appeal.
The lightweight nature of high-density moulded EPS cornices makes them remarkably easy to handle and install. This quality not only simplifies the installation process but also reduces the labour and time required for completion.
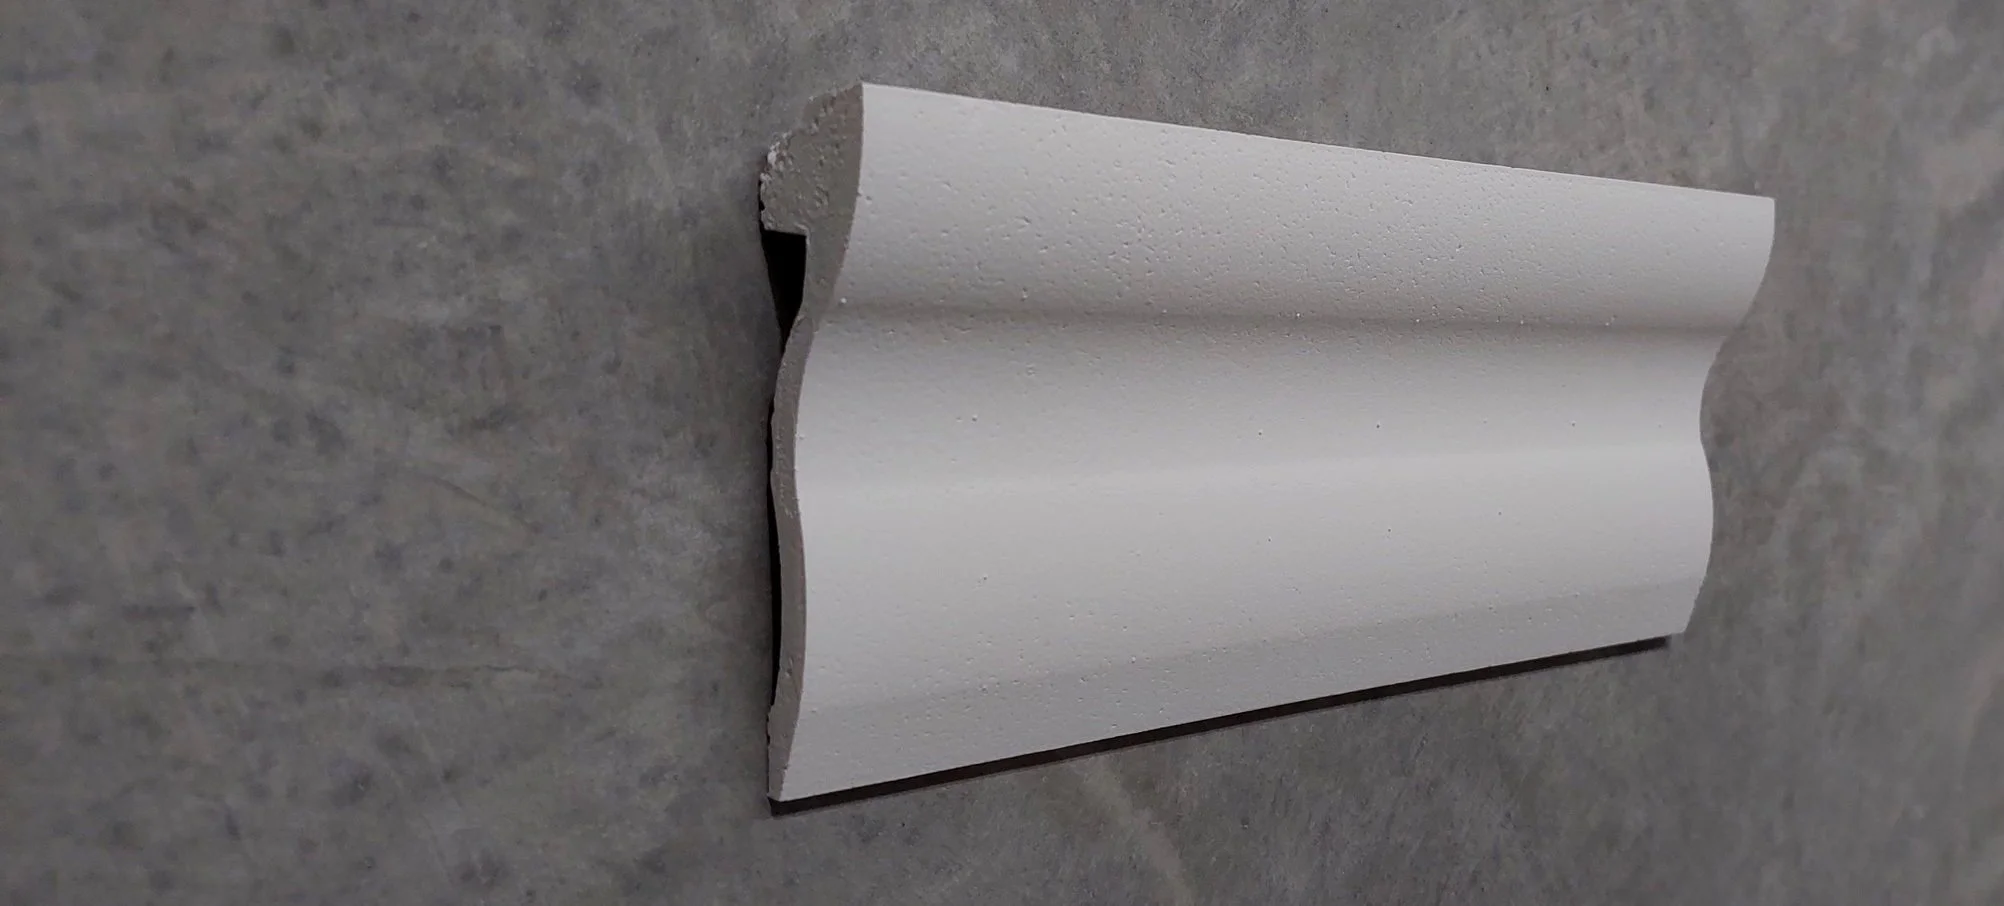
High-density moulded EPS cornices are designed to be durable, allowing them to withstand regular wear and tear. This durability ensures that the cornice maintains its original appearance over an extended period of time.
These cornices possess flexibility that enables them to conceal imperfections present on ceilings and walls. This feature contributes to a smoother and more polished overall look.
-
The most recommended paint for cornices is water-based acrylic paint. Opt for solvent-free paint for interior wall or ceiling cornices.
-
Polystyrene cornices, including the ShadowLight Cornice, are made from fire retardant graded polystyrene. This enhances their fire resistance, reducing the fire hazard.
-
For cornice installation, it's best to use a high-quality, solvent-free construction adhesive. Always adhere to the manufacturer's guidelines. Ensure the surface is clean, dry, and free from loose materials before applying the adhesive.
-
The lightweight ShadowLight Cornices can be effortlessly installed on top of tiles using a solvent-free construction adhesive, allowing easy installation even after the tiles are in place.
-
Polystyrene cornices can be susceptible to accidental damage if they come into contact with a hard object or experience an impact. However, the probability of such incidents is relatively low due to their installation at ceiling height. This positioning keeps them out of reach and less prone to accidental collisions.
-
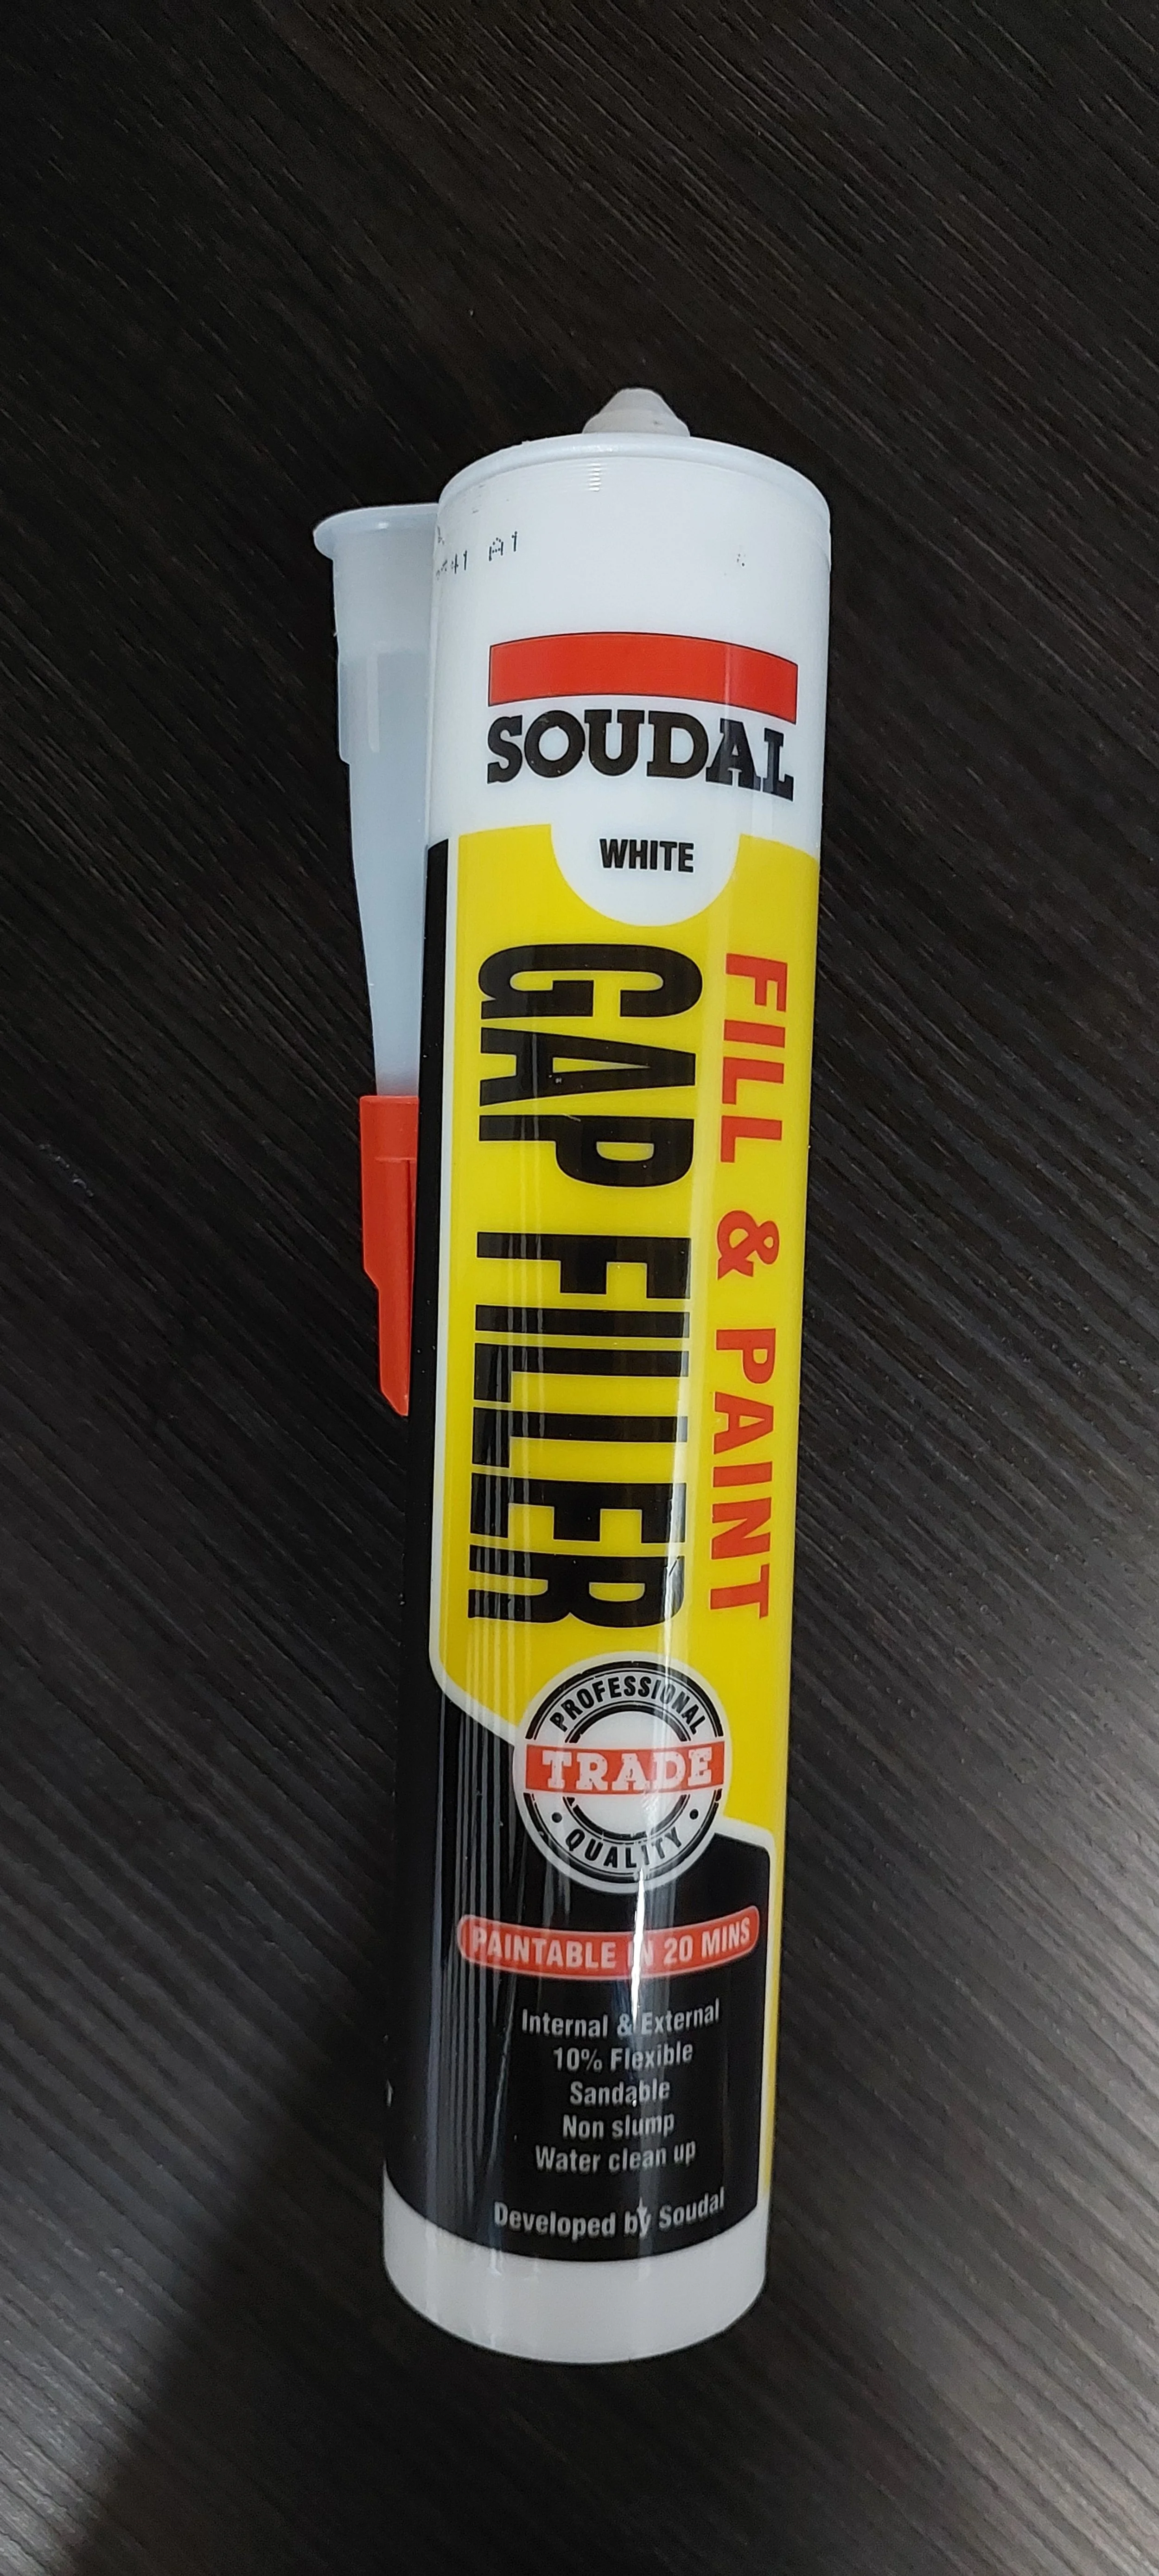
Absolutely! To repair bumps or dents in cornices, use a gap or crack filler and smooth it with a damp cloth or paintbrush. Once dry, you can repaint the cornice.
-
Yes, since ShadowLight Cornice attaches to the wall, it can be installed beneath an existing cornice. This adds decorative flair to the room and permits the addition of LED lights if desired.
-
While cornices rarely accumulate dust, as gravity tends to cause dust particles to gather more on horizontal surfaces they can easily be cleaned with a simple wipe with a wet rag.
-
If there's a gap between two cornices at a corner due to the corner not being perfectly 90 degrees, and the cornices cut at 2 x 45-degree angles, use a gap filler adhesive and finish it with a damp paintbrush.
-
Yes! We do offer delivery to the following locations:
Queensland: Brisbane, Gold Coast, Sunshine Coast, Mackay, Toowoomba, Rockhampton
New South Wales: Sydney, Coffs Harbour, Port Macquarie, Newcastle, Central Coast, Wollongong, Maitland
Australian Capital Territory: Canberra
Victoria: Melbourne, Geelong
South Australia: Adelaide